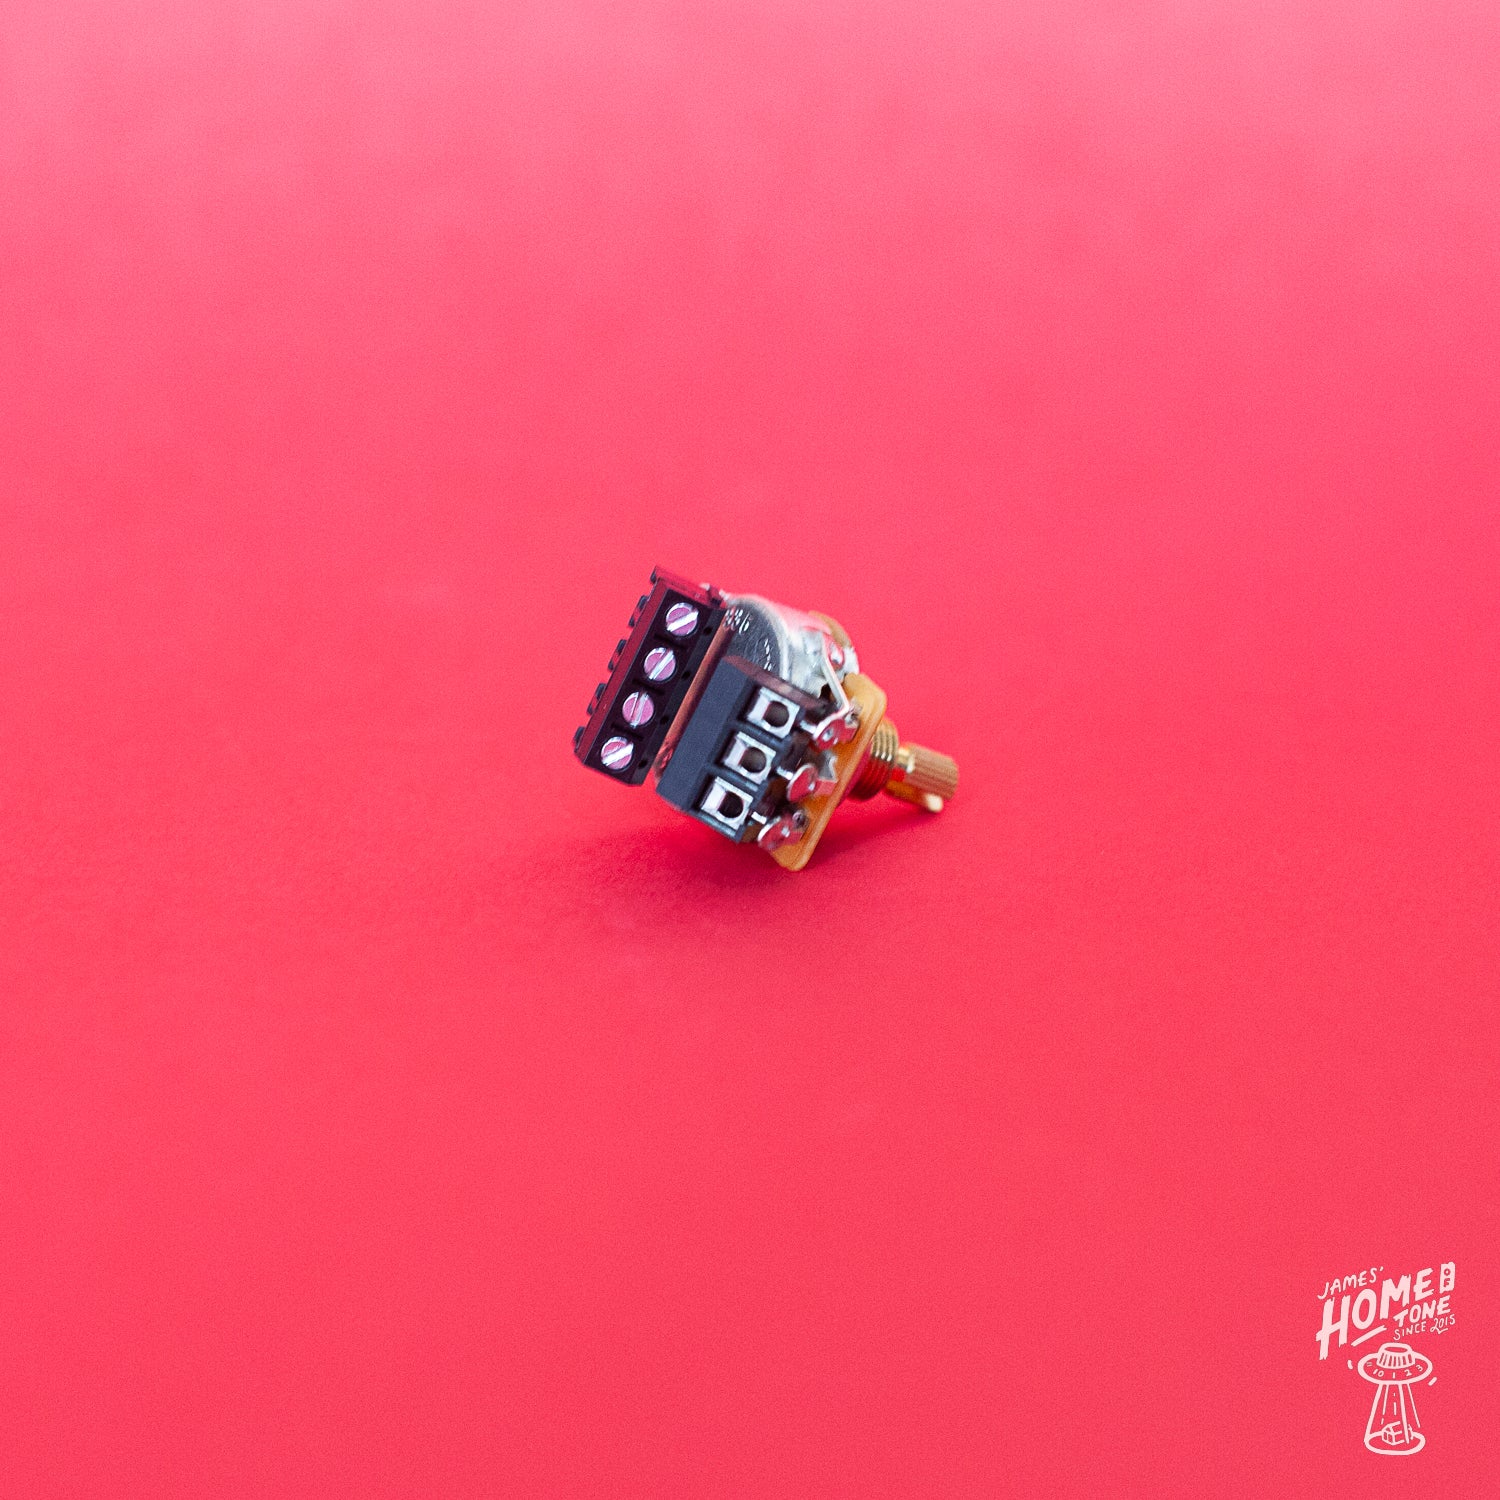
Solderless install CTS 450 Series volume and tone pots
Please use the tabs below to read through the information about this product and it's options. From a run down of what the product does, to important fitting information and full specs.
Availability
I currently make these solderless pots to order, depending on current workload turnaround time once an order is placed should be within 2-3 working days. This time does not include transit time for postage.
About
My range of Solderless Install pre wired kits have been a staple product here for a number of years now. Customer feedback about ease of install has been great, but it got me thinking about further improving ease of wiring work for those that dislike/struggle with soldering. Sure, replacing a full wiring loom has it’s benefits as a full upgrade/replacement but what if you have a unique guitar that a drop-in kit isn’t available for, or want to replace a troublesome pot. So I figured why couldn’t we adapt the solderless install method to individual components too, Hopefully these will help!
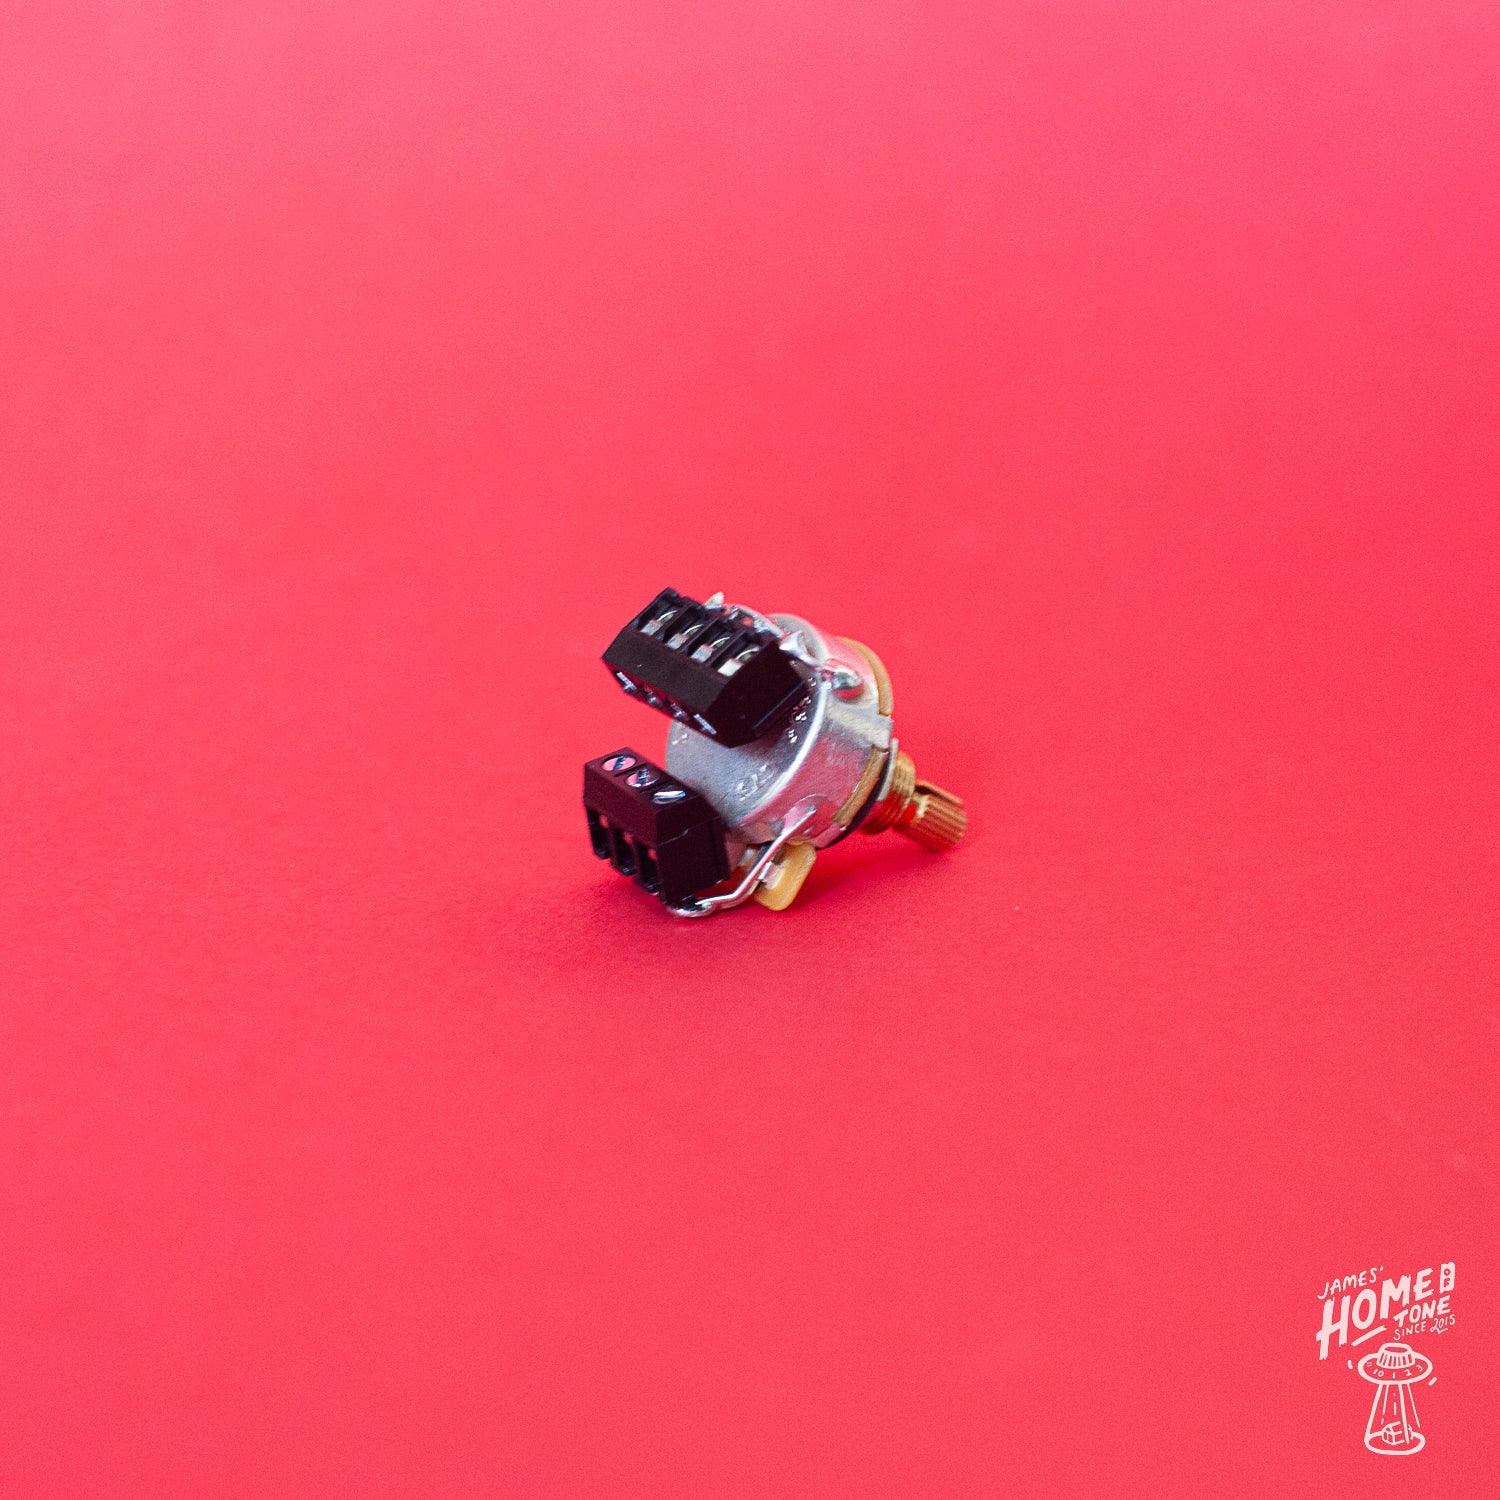
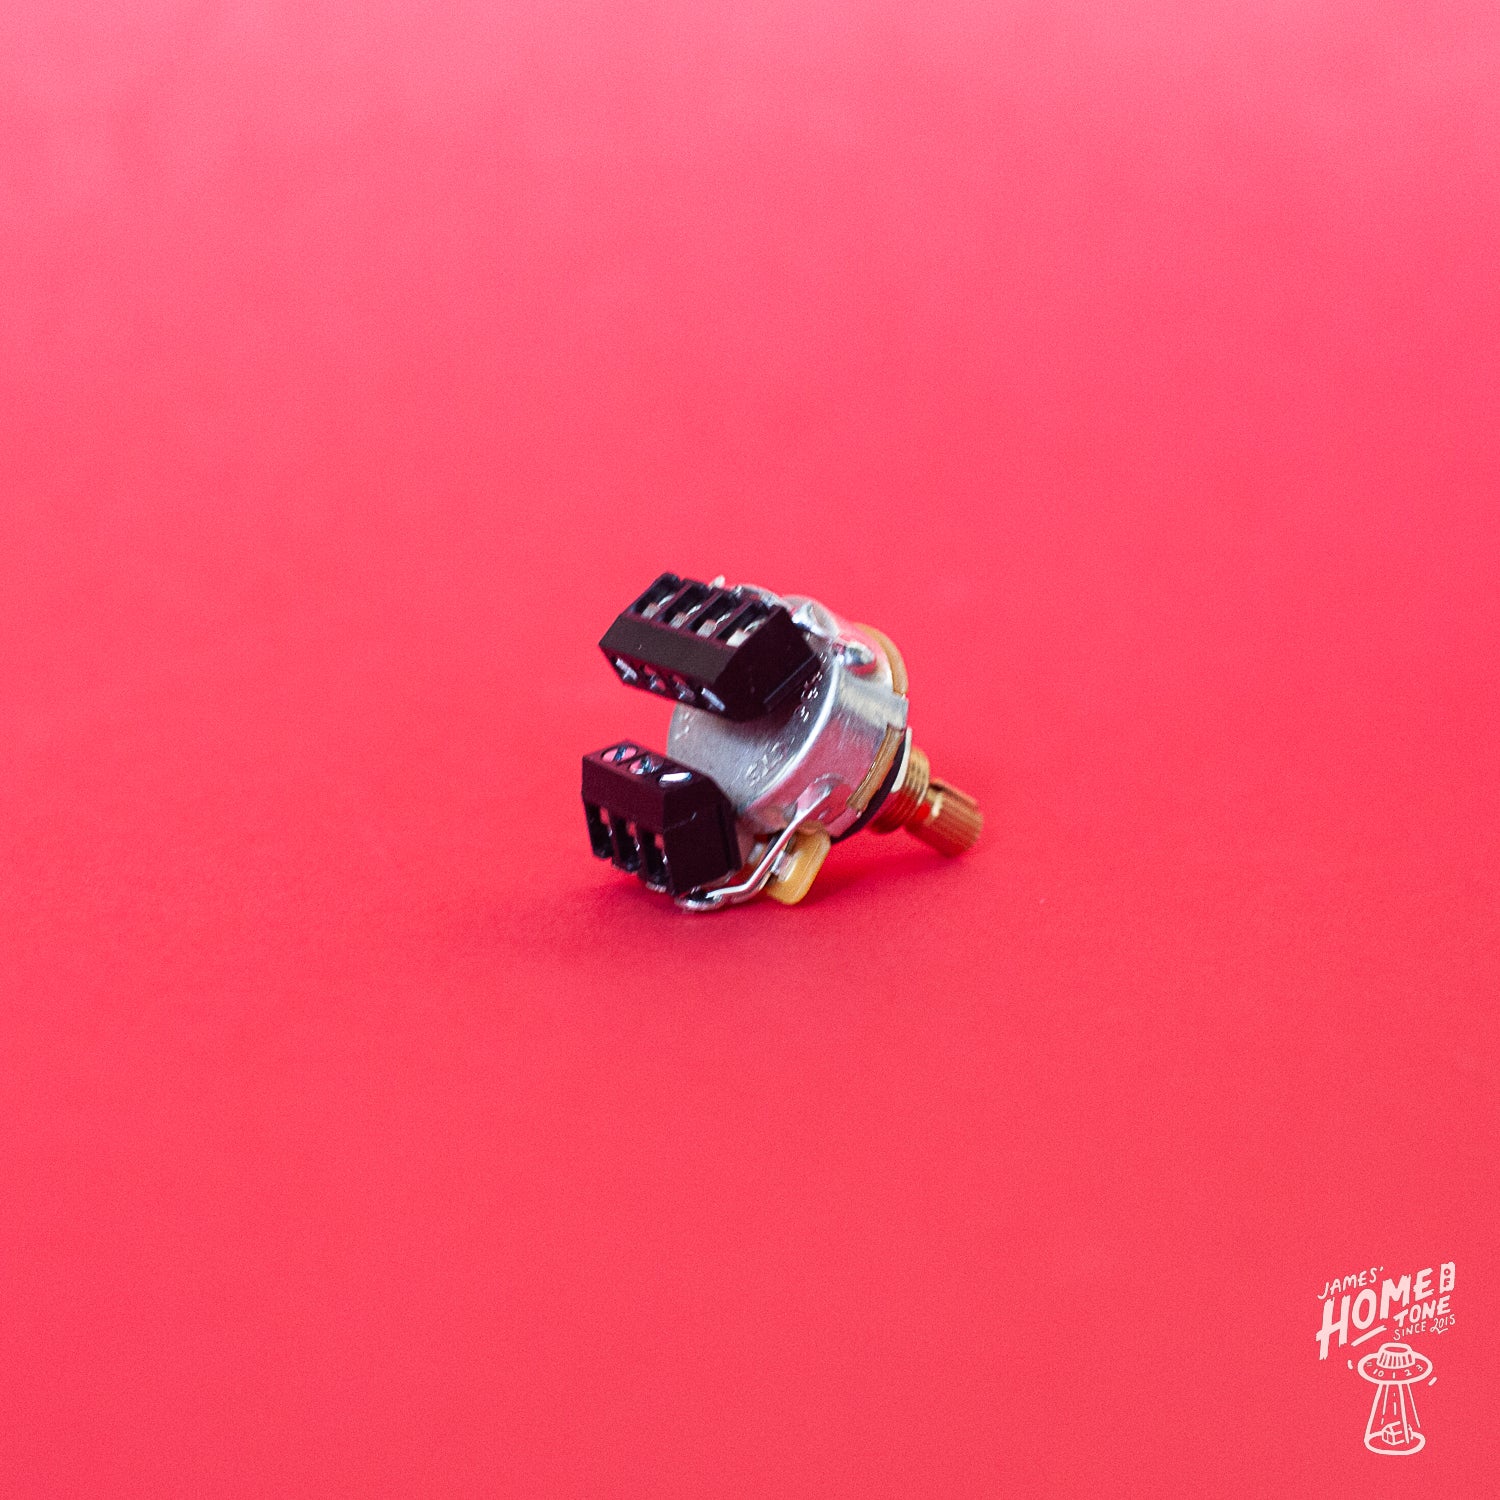
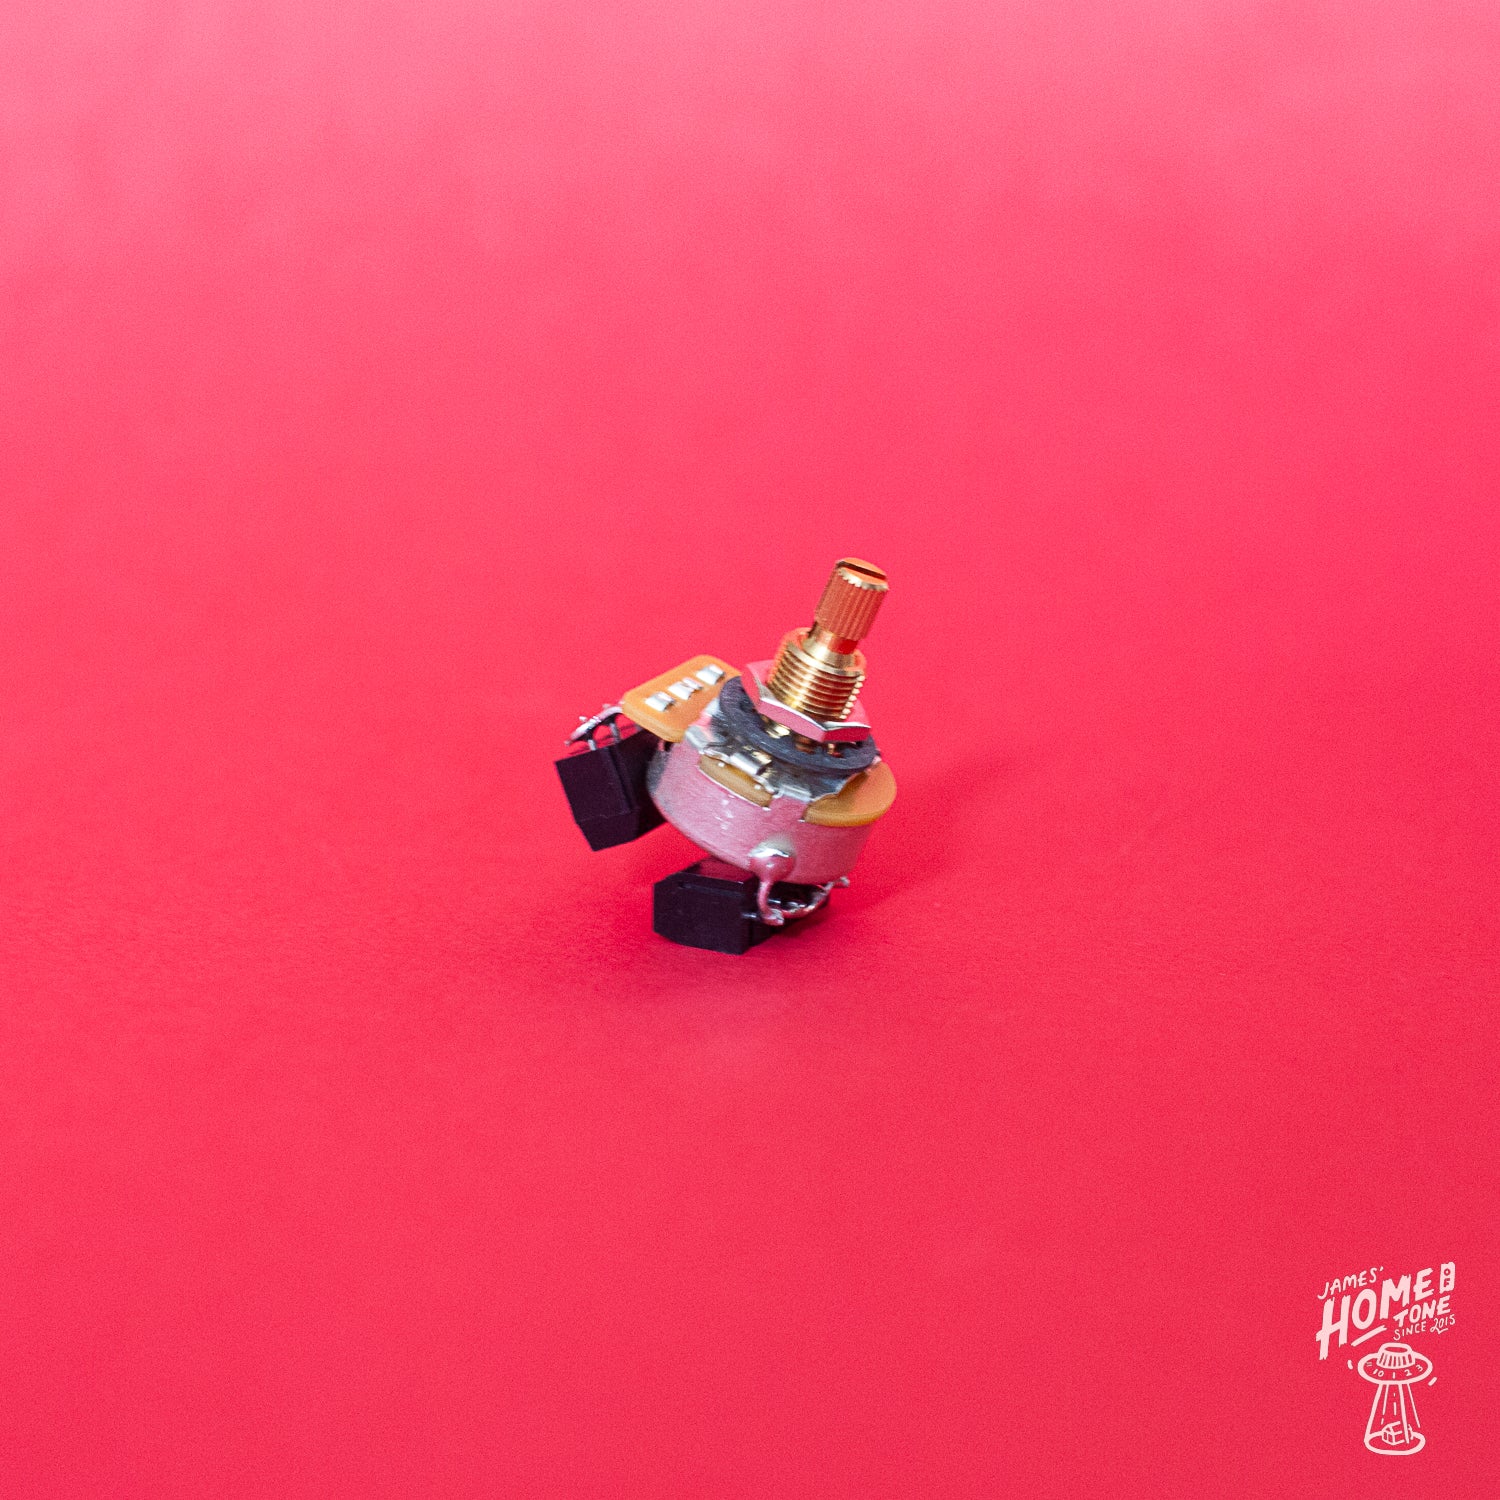
My new Solderless Series volume and tone pots feature quality CTS 450 series +/-10% tolerance 15% audio taper pots and come with reliable and easy to use connector blocks pre soldered. This means you can connect ground wires and signal wires without the need for any soldering at all. I thought about offering these as simply a generic pot for any function, but decided it would be even better if I prepped them for their desired function. So the volume pot already has the ground lug soldered for example giving you one less connection to make.
You can wire these just as you would with regular soldering so no limitations to specific schematics or methods. Fancy wiring your Les Paul 50s style but not sure if you’ll prefer modern wiring? Want to experiment with different tone capacitor specs? Experiment with different pot values? All of this will be made a lot quicker and easier, whether you’re comfortable with a soldering iron or not!
Each pot is pre wired and tested in house by myself using quality CTS pots and the very same reliable connector blocks which I’ve been using for years with my full solderless harness kits.
Much like with my pre-wired Solderless harnesses, I have intended for the components to be serviceable. I approached it with guitar techs in mind, in that should a component require replacement/repair in years to come, standard off the shelf components could be used and it isn't a custom or tricky PCB to handle.
RoHS Compliant components are used throughout pre-wired assemblies. All components used in this assembly are being used for their intended purposes stated in the guidelines by their relevant manufacturer. Any use outside of stated or recommended guidelines is entirely up to the customer, but sales support/warranty/refunds are then extinguished. For a run down of the manufacturers and product data sheets you can click HERE
How do I connect them up?
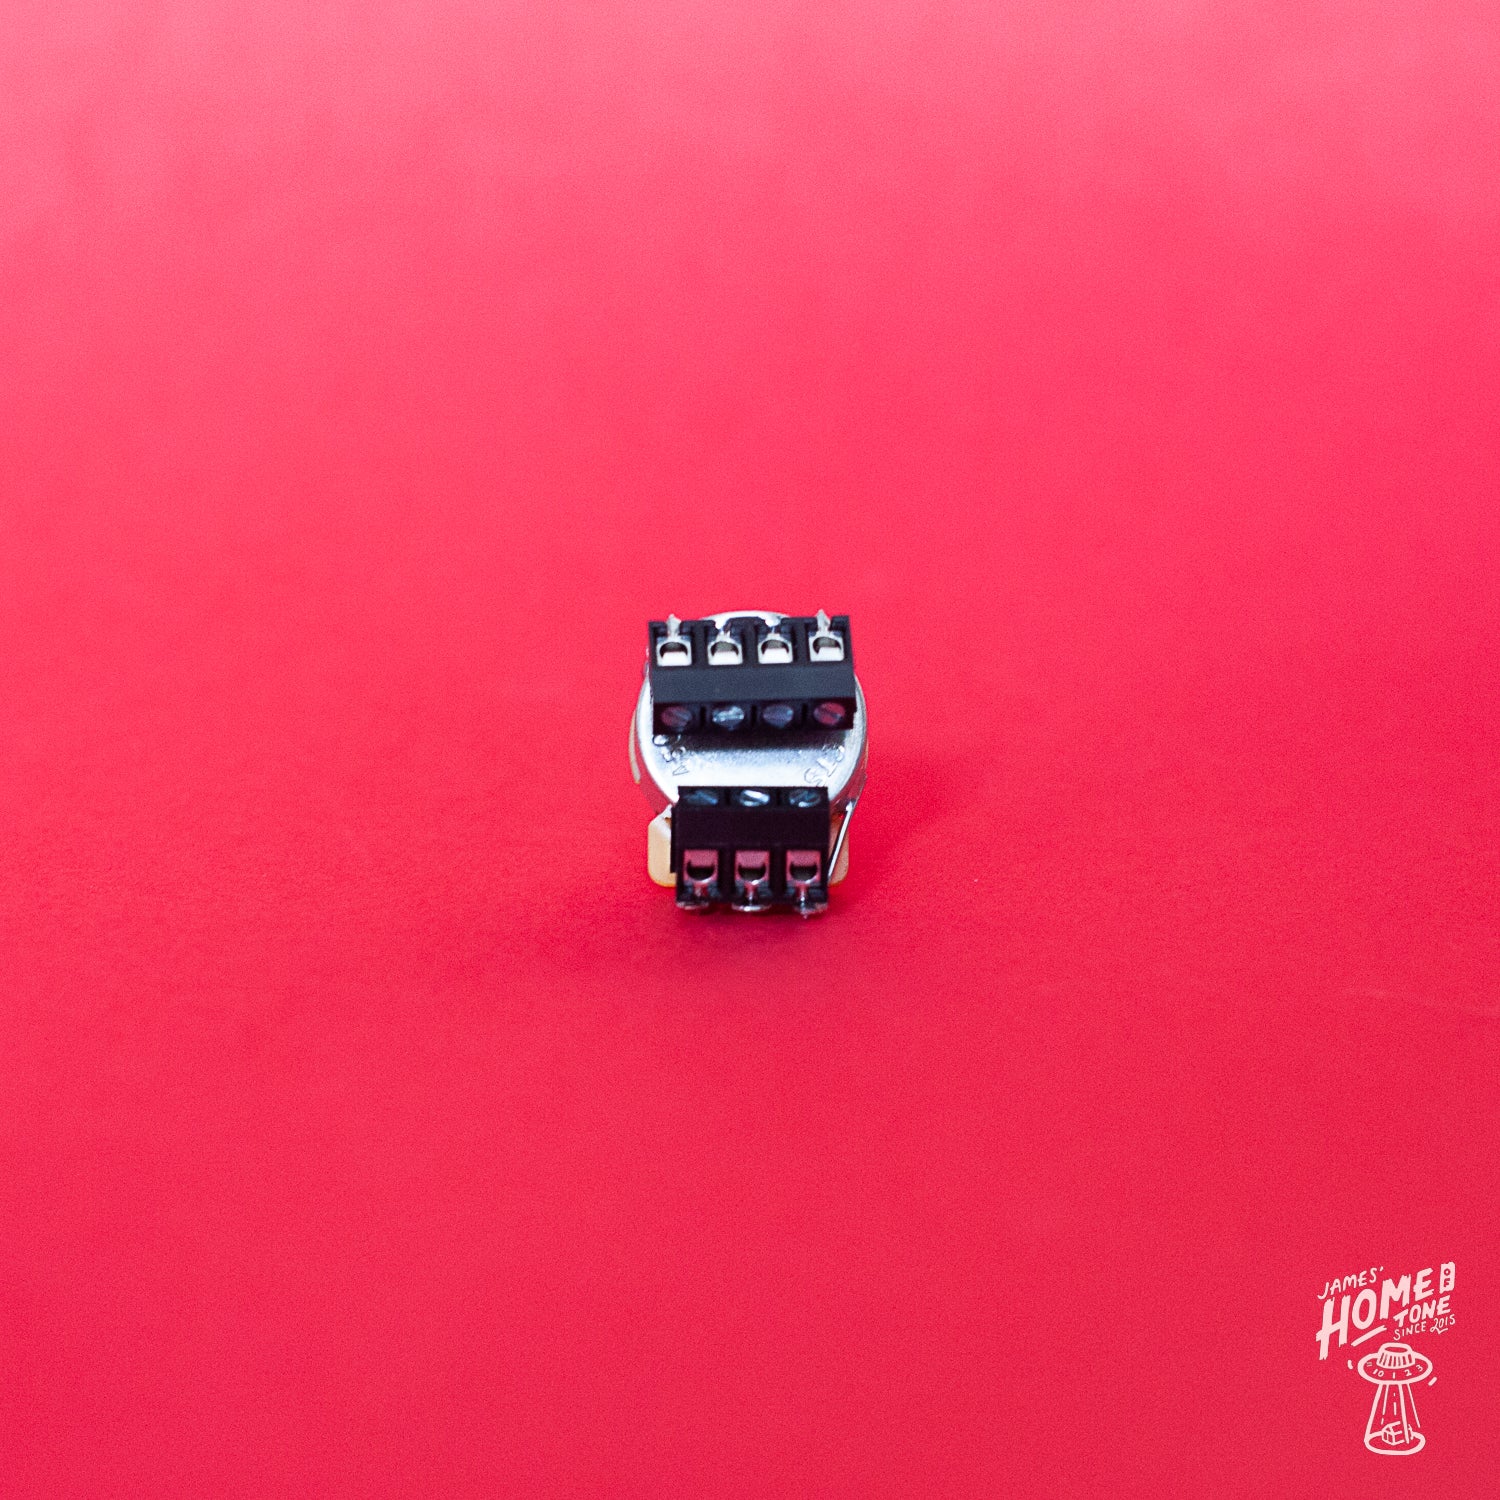
On the pot you’ll find two sets of connector blocks, one set is connected to the lugs and will primarily be for any signal wires; Input and output signal wires from your switch or pickups for example, and then a set of connector blocks located on the rear/pot casing for your ground wires. These could be from your pickups, ground wires between other components like the other pots, switch or jack for example. Each of those connector blocks have an easy to use small tightening screw to secure the core wire in place. If using Gavitt cloth style wire simply push back some of the cloth insulated covering to expose the central core wire, insert into the relevant connector block, tighten up via the screw fixing and push back the cloth covering! If using plastic coated wire, you’ll need some wire strippers to strip back and expose a small portion of the central core and follow the same procedure as above.
Which wires you connect where will ultimately depend on the wiring schematic you are following, but ultimately you can wire up these pots just like a normal soldered install pot. The lugs are the same, but instead of soldering the wire to the specific lug, you simply use the easy connector block instead.
Your solderless volume pot already has a pre-ground lug, so you will not need to add an additional ground wire from that lug to the casing. I have done this with a pre-soldered wire. But I have left a ground connector block in it's place so you could use this as an additional point of ground.
Other than that, connect them up exactly as you would with regular soldered pots, follow schematics as you would, experiment between wiring styles or caps etc much much easier as a result too!
There are a number of ways you could connect pots, each would depend on wiring style, personal preference or guitar spec perhaps. So for the sake of example, if this was a single pickup guitar like a Les Paul Junior perhaps. To connect this all up, I would attach my pickup 'hot' wire to the volume pot lug 3. I would connect my pickup ground wire to any of the black dot connectors. I would connect my jack socket 'hot' signal wire to lug 2, and the jack socket ground wire to lug 1.
To connect that volume pot to the tone pot, I would then fit a signal wire between lug 3 of the volume, to lug 1, of the tone pot. I would then connect a tone capacitor between lug 2 and any one of the black dot ground connectors.
To achieve ground continuity between the pots, I would then simple fit a wire between one of the ground connectors on the volume pot, to one of the ground connectors on the tone pot. And to finish I would fit the ground wire from the bridge of the guitar (which helps ground the strings for example) and fit that into any one of the black dot ground connectors. That would see the guitar up and running, without touching a soldering iron.
You could leave as is and enjoy the guitar, or if you like to experiment, you could very easily change what value tone capacitor you are using or you could swap to Gibson '50s' style wiring for example. Lots of ways to easily experiment.
Here's a brief video showcasing a simple guitar circuit assembly using solderless pots!
Will they fit my guitar?
This primarily comes down to where your guitar was made, and what the existing components/pots are. Guitars produced in the far east generally speaking have the smaller metric sized pots fitted. Guitars produced in the USA or Mexico for example generally speaking have larger imperial sized pots fitted. As I use CTS pots for these solderless install pots, which are imperial spec, they would more than likely be a direct fit for a USA made instrument. But it may require some modifications to the pickguard or body to fit to a far eastern made instrument. For reference, the mounting thread diameter of a CTS pot is 9.52mm, so I generally recommend a 10mm mounting hole diameter for a comfortable fit. For full measurement specs on each pot available, please see below.
Which pot spec do I need?
This will ultimately come down to what guitar it is, it’s pickup configuration or what your desired tone response is. But generally speaking 250k pots work great with single coils like those found in traditional Telecasters or Strats. 500k pots work great with humbucker or P90 equipped guitars and 1MEG pots are commonly found in traditional Jazzmasters and Jaguars.
Split or solid shaft?
Some of the pots available with either a split or solid shaft for where the control knob mounts. Split shaft pots are suitable for push/fit, 5.95mm 24spline control knobs. Solid shaft pots are suitable for grub screw secured 6.35mm control knobs.
Short or long shaft?
You may have spotted that the 500k pot options are available in short or long shaft specs. This refers to the mounting thread length, and is a common requirement for Les Paul models with or without a carved maple cap. For full measurement specs on each pot available, please see below.
If you are not sure which pot spec/shaft type you need for your guitar, please drop me an e-mail at james@homeoftone.co.uk with information on your specific guitar and ideally photos of the existing pots or control cavity and I'll be happy to help advise further :)
Measurements
250k Solid Shaft Specifications
- Solid Brass Shaft and 3/8” X 32 Thread
- Shaft Style: Solid Shaft
- Shaft Diameter: 1/4" (6.35mm),
- Shaft Height: 1/4” (6.35mm)
- Thread Height: 1/4” (6.35mm)
- Required Mounting Hole: 3/8” (9.52mm)
- Smooth Torque 36-144gcm
- Suitable for pickguard or control plate thicknesses only
250k Split Shaft Specifications
- Solid Brass Shaft and 3/8” X 32 Thread
- Shaft Style: Split Shaft
- Shaft Diameter: 0.235" (5.95mm), 24 spline fine knurling
- Shaft Height: 1/4” (6.35mm)
- Thread Height: 1/4” (6.35mm)
- Required Mounting Hole: 3/8” (9.52mm)
- Smooth Torque 36-144gcm
- Suitable for pickguard or control plate thicknesses only
500k Short Split Shaft Specifications:
- Solid Brass Shaft and 3/8” X 32 Thread
- Shaft Style: Split Shaft
- Shaft Diameter: 0.235" (5.95mm), 24 spline fine knurling
- Shaft Height: 3/8” (9.52mm)
- Thread Height: 3/8” (9.52mm)
- Required Mounting Hole: 3/8” (9.52mm)
- Smooth Torque 36-144gcm
- Suitable for pickguard/control plate or some body top thicknesses
500k Long Split Shaft Specifications:
- Solid Brass Shaft and 3/8” X 32 Thread
- Shaft Style: Split Shaft
- Shaft Diameter: 0.235" (5.95mm), 24 spline fine knurling
- Shaft Height: 3/8” (9.52mm)
- Thread Height: (19mm)
- Required Mounting Hole: 3/8” (9.52mm)
- Smooth Torque 36-144gcm
- Suitable for thick carved top guitars such as some Les Pauls
500k Solid Short Shaft Specifications:
- Solid Brass Shaft and 3/8” X 32 Thread
- Shaft Style: Solid
- Shaft Diameter: 1/4" 6.35mm
- Shaft Height: 3/8” (9.52mm)
- Thread Height: 3/8” (9.52mm)
- Required Mounting Hole: 3/8” (9.52mm)
- Smooth Torque 36-144gcm
- Suitable for pickguard/control plate or some body top thicknesses
1MEG Split Shaft Specifications:
- Solid Brass Shaft and 3/8” X 32 Thread
- Shaft Style: Split Shaft
- Shaft Diameter: 0.235" (5.95mm), 24 spline fine knurling
- Shaft Height: 1/4” (6,35mm)
- Thread Height: 1/4” (6,35mm)
- Required Mounting Hole: 3/8” (9.52mm)
- Smooth Torque 36-144gcm
- Suitable for pickguard or control plate thicknesses only
1MEG Solid Shaft Specifications:
- Solid Brass Shaft and 3/8” X 32 Thread
- Shaft Style: Solid
- Shaft Diameter: 1/4" 6.35mm
- Shaft Height: 3/8” (9.52mm)
- Thread Height: 3/8” (9.52mm)
- Required Mounting Hole: 3/8” (9.52mm)
- Smooth Torque 36-144gcm not to stiff, not too loose.
- Suitable for pickguard/control plate or some body top thicknesses
GPSR & Safety info
Manufacturer: James' Home of Tone, Laburnum Street, Stourbridge, DY8 4NX, UK.
Email: james@homeoftone.co.uk
EU Authorised Representative: Global Trade Department (NI) Ltd, Office 834, Unit 6, 100 Lisburn Road, Belfast, BT9 6AG, Northern Ireland. Email: contact@globaltradedept.com
Intended user: The Signature Series pre-wired electric guitar and electric bass guitar harnesses are only intended to be used by an adult (over the age of 18). By a guitar repair professional, or someone with sufficient repair/modification experience.
Intended use: The Signature Series pre-wired electric guitar and electric bass guitar harness is a replacement and/or upgraded pre-wired harness kit that you can use to replace, retrofit or upgrade the volume, tone and pickup selection controls in an electric guitar or electric bass guitar. The Signature Series pre-wired electric guitar and electric bass guitar harness kit offers a quality, pre-assembled harness solution for your electric guitar or electric bass guitar model. Your existing guitar pickups can be installed to this pre-wired harness kit, to allow a factory equivalent or alternative control layout for your electric guitar or electric bass guitar as desired.
Full installation guidance can be found on each specific kits product listing, with detailed fitting notes and requirements along with links to the specific wiring diagram. Before starting any install, the full guides must be read to ensure a safe install process throughout. James' Home of Tone cannot and will not be held liable for any injury or damage caused by incorrect methods, handling and techniques whilst installing a Signature Series pre-wired kit. Professional installation only recommended.
The Signature Series Pre-Wired electric guitar harness is intended to be used for:
▪ The specific model of guitar or bass that is detailed in the product description
▪ A like-for-like replacement or upgrade retrofit for your guitar or basses existing volume, tone and pickup selection controls
▪ Adjusting the pickup selection, volume and tone where applicable on an amplified electric guitar during use
The Signature Series Pre-Wired electric guitar harness is not intended to be used:
▪ In a guitar or bass model that it is not specifically designed and advertised for
▪ where modifications to the kit, its schematic or its components are carried out

